
Why Sesame Harvesting Demands Precision
If you’ve ever sprinkled sesame seeds on a salad or baked them into bread, you might wonder: how are sesame seeds harvested? These tiny seeds come from sesame plants, which have a quirky secret—their pods burst open when ripe! This “shattering” makes timing critical. Harvest too late, and you’ll lose seeds to the ground. Harvest too early, and the seeds won’t develop their signature nutty flavor. For gardeners and farmers, getting this right means balancing patience, observation, and a few clever tricks. Let’s dig into the fascinating process!
The Lifecycle of a Sesame Plant
Before learning how are sesame seeds harvested, it helps to understand the plant’s journey. Sesame plants grow in warm climates and love sunshine. Here’s what their lifecycle looks like:
- Germination: Seeds sprout in 5–10 days in loose, well-drained soil.
- Vegetative Growth: Plants shoot up to 3–5 feet tall, developing lush green leaves.
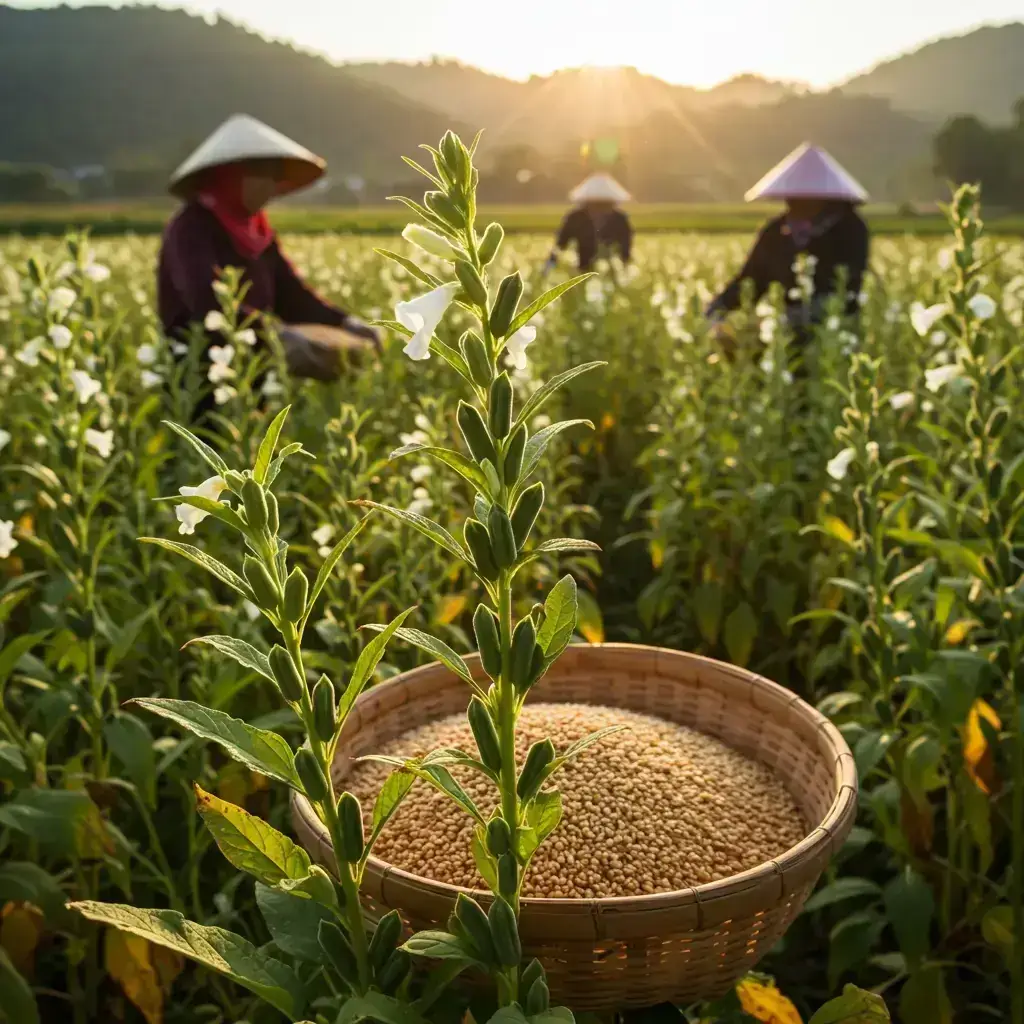
- Flowering: Delicate white or pink blooms appear around day 45.
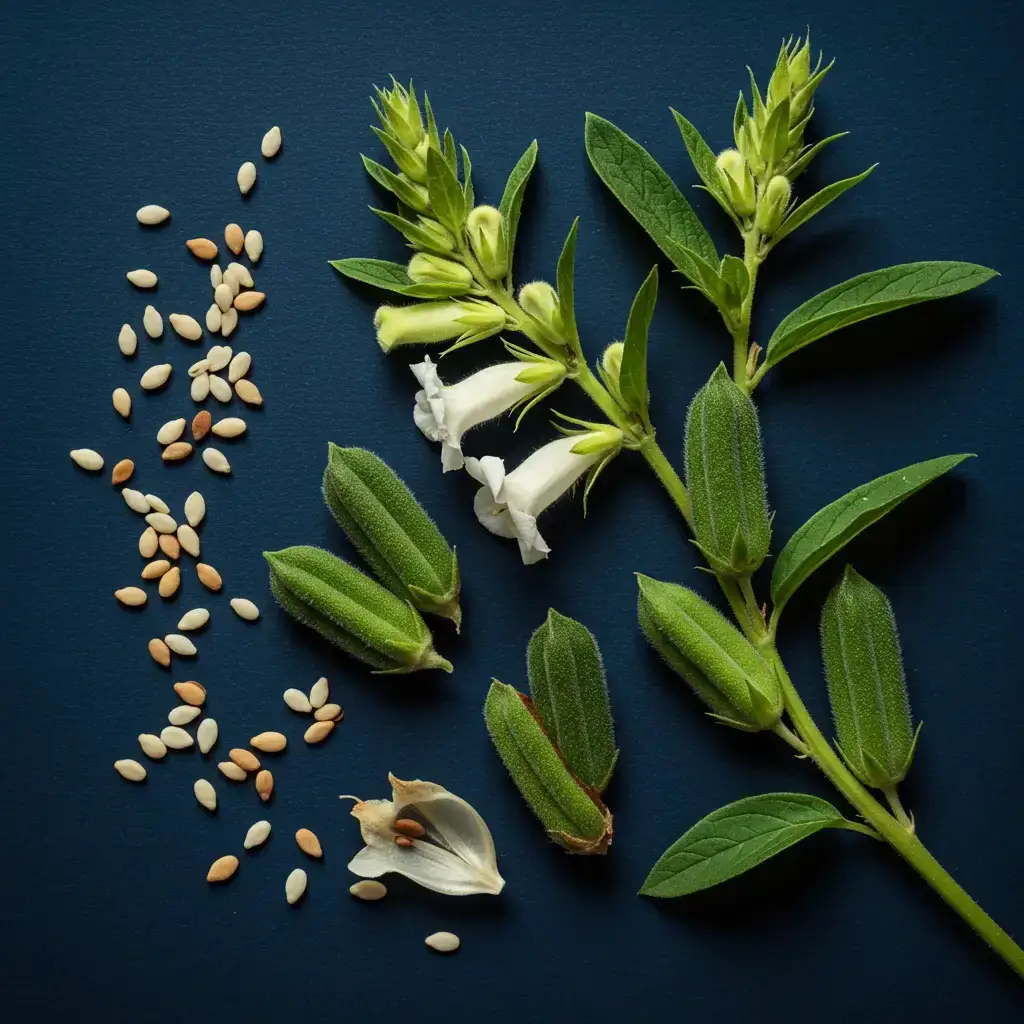
- Pod Formation: Flowers turn into seed pods that slowly change from green to brown.
When to Harvest:
- Pods turn golden-brown and feel dry.
- Seeds inside make a rattling sound when shaken.
- Lower leaves start to yellow and fall off.
Gardening Tip: Sesame thrives in USDA zones 5–9. Plant seeds after the last frost and ensure they get 6–8 hours of daily sun!
How Are Sesame Seeds Harvested? 7 Surprising Steps
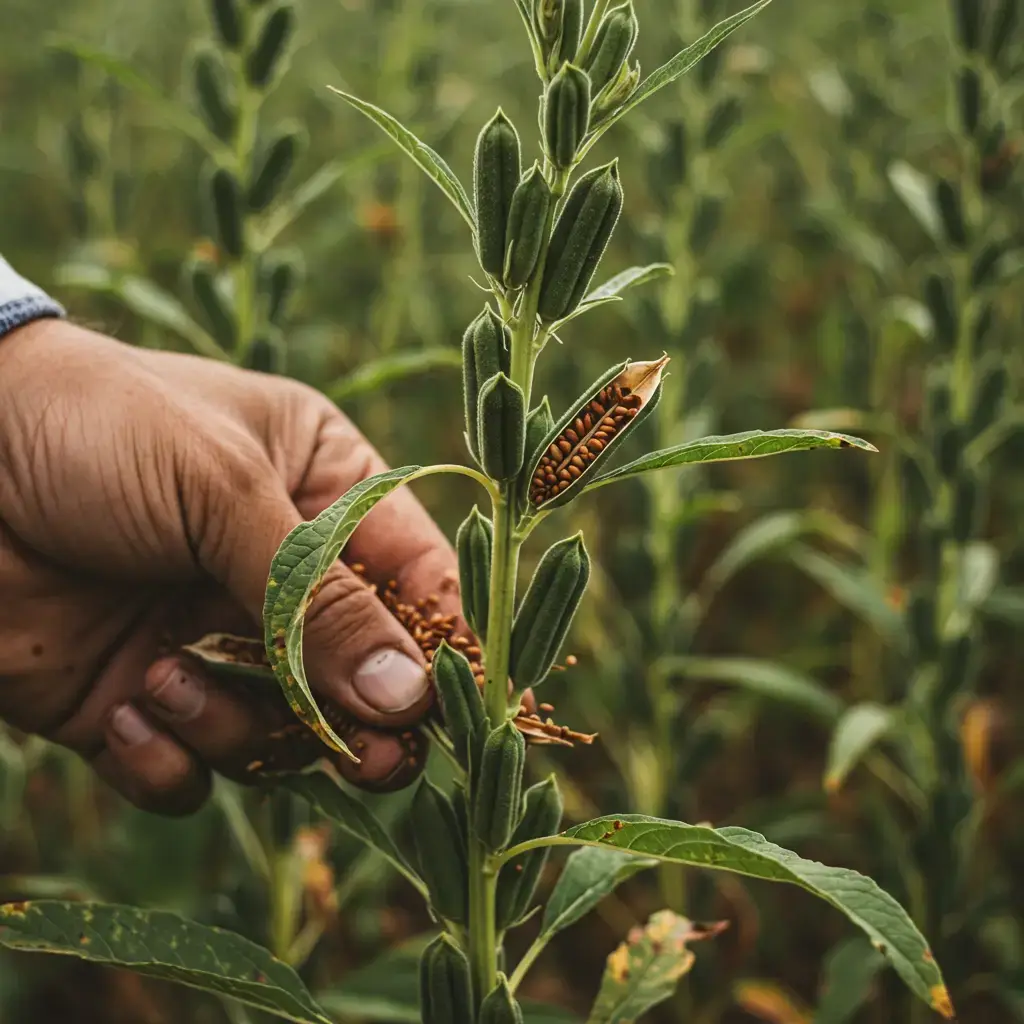
Step 1: Monitoring Pod Maturity
The first rule of sesame harvesting? Watch those pods like a hawk!
- Color Clues: Green pods aren’t ready. Wait until they turn brown or tan.
- The Rattle Test: Gently shake a pod. If you hear seeds clicking inside, it’s go-time!
Pro Tip: Check plants daily as pods mature unevenly. Harvest when 75% of pods are brown.
Step 2: Choosing the Harvest Method
There are two main ways to harvest sesame seeds:
1. Hand-Harvesting (Best for Small Gardens)
- Use pruning shears to cut stalks at the base.
- Bundle stalks and hang them upside down to dry.
Pros: Less seed loss, ideal for small batches.
Cons: Time-consuming.
2. Machine Harvesting (For Large Crops)
- Use a combine harvester with gentle settings.
Pros: Fast and efficient.
Cons: Risk of crushing seeds if not adjusted properly.
Gardener’s Choice: For backyard grows, hand-harvesting wins!
Step 3: Cutting and Drying Stalks
After cutting, let stalks dry for 7–10 days in a warm, airy spot.
- Sun-Drying: Lay bundles on a clean tarp in direct sunlight.
- Airflow Is Key: Use a covered porch or greenhouse to prevent dew or rain damage.
- Avoid Mold: Turn stalks every 2 days for even drying.
Step 4: Threshing the Pods
Threshing means separating seeds from pods. Here’s how:
- Manual Method: Gently beat dried stalks with a stick over a tarp.
- Machine Method: Use a thresher set to low speed to protect seeds.
Safety Tip: Wear gloves—sesame pods can be prickly!
Step 5: Winnowing and Cleaning
Winnowing removes chaff (plant debris):
- Screening: Pour seeds through a mesh sieve to catch large bits.
- Wind Winnowing: Toss seeds in a breeze—light chaff blows away.
- Fan Trick: Use a household fan for indoor winnowing.
Step 6: Final Drying for Storage
Even after threshing, seeds need extra drying:
- Ideal Moisture: 5–8% (test by biting a seed—it should snap, not bend).
- Solar Dryers: Spread seeds on screens in sunlight for 2–3 days.
- Oven Hack: Use a dehydrator at 95°F for 12 hours (don’t roast them!).
Step 7: Grading and Packaging
Sort seeds for quality and storage:
- Size: Use kitchen sieves to separate small/medium/large seeds.
- Color: White, black, or brown—save each type in labeled jars.
- Storage: Keep seeds in airtight containers in a cool, dark pantry.
Bonus: Save some seeds for next year’s planting!
Common Challenges in Sesame Harvesting
Even pros face hurdles. Here’s how to solve them:
- Pod Shattering: Harvest early in the morning when pods are slightly damp.
- Pests: Spray aphids with soapy water; use neem oil for fungi.
- Rainy Weather: Cover drying stalks with tarps to prevent mold.
Sustainable Practices for Modern Gardeners
Grow sesame eco-friendly with these tips:
- Drip Irrigation: Saves water and prevents root rot.
- Companion Planting: Grow with basil or marigolds to repel pests.
- Crop Rotation: Plant sesame after beans to boost soil nitrogen.
FAQs About Sesame Seed Harvesting
1. What’s the best time of day to harvest sesame seeds?
Early morning! Pods are slightly damp from dew, which reduces shattering. Avoid midday heat when pods are driest and most likely to burst open.
2. Can I store sesame seeds in the fridge or freezer?
Yes! For long-term storage:
- Fridge: Keep in airtight containers for up to 1 year.
- Freezer: Use sealed bags for 2+ years. Cold storage preserves flavor and oils.
3. How do I handle plants without losing seeds?
- Place a tarp or bedsheet under plants before cutting stalks.
- Work gently to avoid shaking pods.
- Harvest in stages if pods mature unevenly.
4. What if my pods are already open when I harvest?
Don’t panic! Salvage seeds by:
- Shaking open pods over a bowl.
- Sifting soil for stray seeds (they often survive!).
Next time, check plants daily as pods near maturity.
5. Can I use harvested seeds for planting next year?
Absolutely! Store seeds in a paper envelope in a cool, dry place. Test germination by sprouting a few in damp paper towels before planting.
6. Do sesame plants attract pollinators?
Yes! Their flowers are loved by bees and butterflies. Planting sesame boosts garden biodiversity—just watch for aphids, which might follow.
7. How do I know if my harvested seeds are good quality?
- Look: Uniform color, no mold spots.
- Smell: Nutty and fresh (not musty).
- Taste: Crunchy with mild bitterness (raw) or toasty flavor (roasted).
8. Can I grow sesame in containers?
Yes! Use:
- A 12-inch-deep pot with drainage holes.
- Sandy, well-draining soil.
- Full sun (6+ hours daily).
Dwarf varieties like ‘Thai Red’ work best!
9. Why are my sesame seeds bitter?
Bitterness often comes from:
- Under-drying: Moisture causes rancidity.
- Over-roasting: Burnt oils taste bitter.
Fix it: Dry seeds thoroughly and roast at low heat (300°F) until golden.
10. How do I protect drying seeds from birds?
Cover drying stalks with:
- Mesh produce bags.
- Old sheer curtains.
- Bird netting (for large batches).
11. Can I harvest sesame seeds at home?
Absolutely! Follow the steps above—it’s perfect for small gardens.
12. How long does harvesting take?
From planting to storage: 90–150 days, depending on your climate.
13. Why are some sesame seeds white vs. black?
Different varieties! White seeds are hulled; black ones have their outer layer intact.
Ready to Grow Your Own Sesame Seeds?
Now that you know how are sesame seeds harvested, why not try growing them yourself? With a little patience and these simple steps, you’ll have fresh, homegrown seeds for cooking, baking, or sharing with friends. Grab some seeds, get your hands dirty, and join the fun of sustainable gardening!